If you’re a TYPO3 integrator or developer who’s been comfortably using Mask to create custom content elements, you might be wondering: “Why should I switch to Content Blocks?” The short answer: future-proofing, cleaner structure, and community support. In this post, we’ll explore exactly how to make that shift without losing a beat.
So, you’ve heard all the buzz about Content Blocks, the new way to define custom content elements in TYPO3. Meanwhile, you’ve also got a site (or several) running the Mask extension. It’s done the job nicely so far, but maybe you’re ready for a more standardized approach to building your TYPO3 content elements.
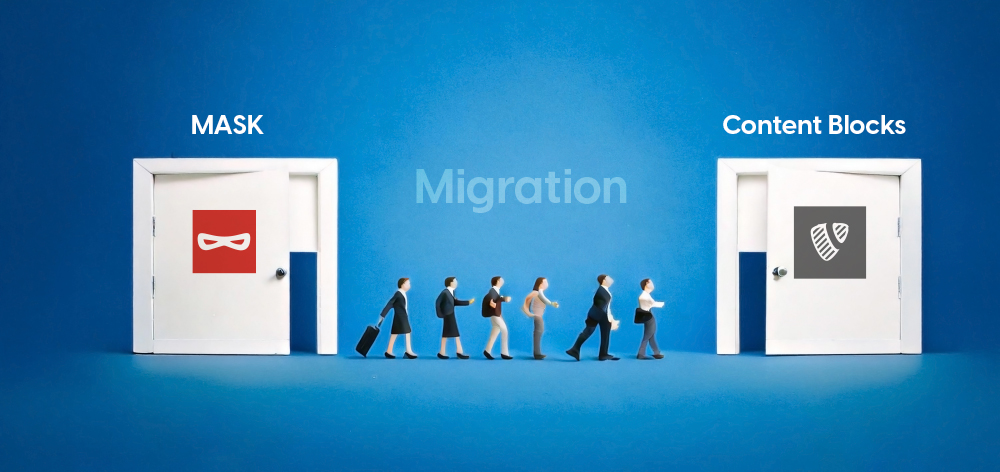
This blog covers two essential methods for migrating from Mask to Content Blocks:
- Automatic Migration: Perfect if you want a speedy, one-and-done solution.
- Manual Migration: Ideal for those who prefer fine-grained control or have special customizations.
A Tip of the Hat to Team Content Blocks
Before we dig into the details, let’s take a moment to appreciate the Content Blocks team. They’ve made it easier and cleaner than ever to craft and maintain custom elements. Their dedication to open-source collaboration has brought about an approach that aligns with TYPO3’s core philosophy—modular, flexible, and forward-thinking. Hats off to you!
Let’s Talk Terminology: What Are Mask and Content Blocks?
Mask in a Nutshell
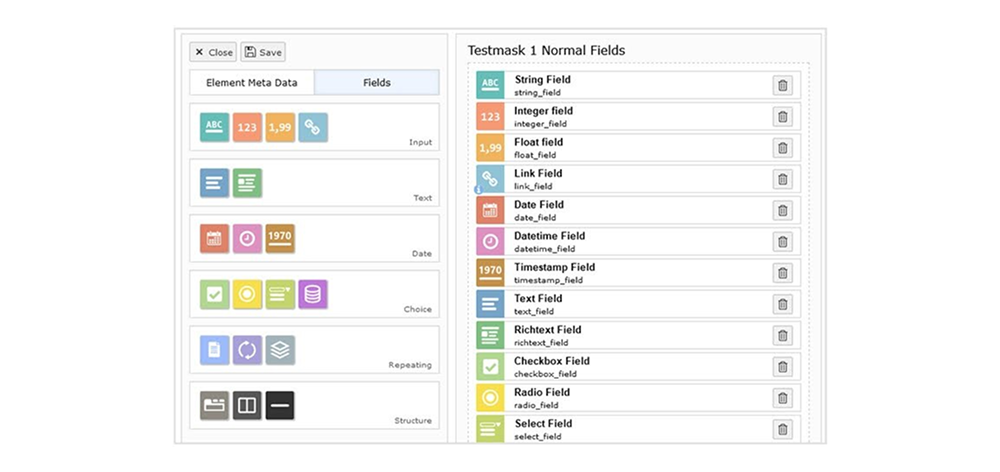
- Mask is a user-friendly extension that allows you to create custom content elements through a graphical interface.
- It’s well-known for enabling dynamic fields and nested content structures without requiring a deep knowledge of TYPO3’s internals.
Content Blocks in a Nutshell
- Content Blocks introduces a convention-based, future-oriented method of building content elements.
- Each Content Block bundles configuration (config.yaml), templates, icons, and language labels into a neat “package” within your site extension.
Key difference: Content Blocks are designed to fit seamlessly with TYPO3’s evolving standards, making your site more maintainable for the long haul.
Why Content Blocks? (Future TYPO3 Core Integration)
One of the key motivations for switching to Content Blocks is TYPO3’s evolving roadmap. There is ongoing development aimed at integrating Content Blocks (or its core concepts) directly into TYPO3 in an upcoming major release. By migrating now:
- You future-proof your project, ensuring that your custom elements stay compatible with the next wave of TYPO3 features.
- You stay aligned with best practices endorsed by the TYPO3 community, which is increasingly standardizing around Content Blocks.
- You benefit from a growing ecosystem of tools, documentation, and community support, all rallying behind a more unified way of managing custom elements.
Ready, Set, Migrate: Which Method to Choose?
- Automatic Migration: If you have multiple Mask elements and want a straightforward, mostly hands-off process, this is a great choice.
- Manual Migration: If you have advanced customizations or simply enjoy controlling every detail, going step-by-step is worth it.
Either way, you can achieve the same end goal—a fully migrated set of content elements.
Pre-Requisites Requirements
Before you start migrating from Mask to Content Blocks, ensure you have the following in place:
- TYPO3 Version: Ideally TYPO3 LTS version. Content Blocks and the migration tools are actively developed with these versions in mind. Ahe automatic migration is only compatible with TYPO3 v13.
- Composer-Based Installation: For automatic migration, A Composer setup simplifies installation and removal of extensions, as well as migration CLI-command.
- Backup Strategy: Always back up your database and files before major changes.
- Site Package Extension: You’ll need a custom extension (e.g., EXT:your_theme) where your new Content Blocks will reside.
- Sufficient Permissions: Make sure you can run TYPO3 console commands (bin/typo3) and modify composer dependencies.
Part 1: Automatic Migration (a.k.a. The Quick Route)
1.1 Overview of the Automated Process
Think of the automatic migration as a wizard that scans your existing Mask definitions, then conjures brand-new Content Blocks that match your old elements. It also copies over templates, icons, and more. Once done, you’ll just remove the old extensions, and you’re all set.
1.2 Step-by-Step
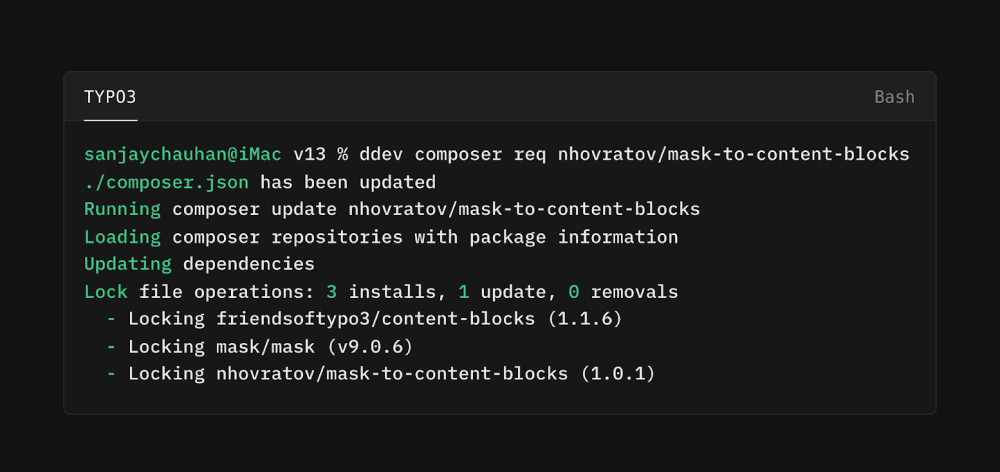
Install Requirements
Make sure Content Blocks is installed.
Install the Mask to Content Blocks extension that runs the migration.
composer require friendsoftypo3/content-blocks
composer require nhovratov/mask-to-content-blocksRun the Magic Command
bin/typo3 mask-to-content-blocks:migrateBehind the scenes, TYPO3 will gather all your Mask configurations and output new Content Blocks in the same extension folder.
Remove Mask and the Migration Tool
composer remove mask/mask nhovratov/mask-to-content-blocksWhy remove Mask? Because if you keep both Mask and Content Blocks active, you’ll have duplicate definitions for your content elements, which can break your site.
Test and Validate
- Are your migrated elements visible in the backend?
- Do they still look right in the frontend?
- Clean up any leftover files or references.
That’s it! You’ve completed an automatic migration. However, there might be some quirky cases—like nested content or page template fields—where you’ll need a bit of manual tweaking. Keep reading for more insights.
Part 2: Manual Migration (a.k.a. The Hands-On Way)
2.1 When to Go Manual
- You have highly customized Mask elements.
- You want to rework how certain fields are structured.
- You prefer seeing everything happen under the hood, step by step.
2.2 Basic Setup
Install Content Blocks while Mask is still active.
composer require friendsoftypo3/content-blocks
Your project folder might look like:
EXT:your_theme
├── ...
└── ContentBlocks
└── ContentElementsMask is still installed, so you can reference its configurations.
2.3 Recreating a Mask Element in Content Blocks
Example: The “slider” Element
1. Create a New Content Block
bin/typo3 content-blocks:make your_theme/sliderThis scaffolds a new Content Block under
EXT:your_theme/ContentBlocks/ContentElements/slider.2. Match the CType and Field Prefix
# EXT:your_theme/ContentBlocks/ContentElements/slider/config.yaml
name: tx-mask/slider
typeName: mask_slider
prefixFields: false- typeName: mask_slider => ensures the CType is identical to your old Mask element.
- prefixFields: false => keeps your fields as tx_mask_* instead of adding another layer of prefixes.
3. Adopt Existing Fields
If your Mask element had a “slides” collection:
 fields:
  - identifier: tx_mask_slides
    type: Collection
    foreign_field: parentid
    fields:
      - identifier: tx_mask_header
        type: Textarea
      - identifier: tx_mask_text
        type: Textarea
        enableRichtext: true
      - identifier: tx_mask_image
type: FileThis replicates your “slider” functionality. Make sure you replicate all fields, especially any that are nested collections.
4. Transfer Templates
Copy slider.html (or your partials and layouts) to templates/frontend.html and other relevant folders in your new Content Block structure.
5. Move Icons and Labels
- Icons: Rename your custom icon to icon.svg and drop it into the assets folder.
- Labels: Copy translations or labels from your Mask config into labels.xlf in the Content Block.
6. Clean Up
- Remove or disable the old Mask slider definition.
- Once all elements have been migrated, you can safely uninstall Mask.
Handling Special Situations
Nested Content
- Mask typically sets colPos = 999 and hides child items in the backend.
- Content Blocks relies on a more structured parent-child reference.
- Ensure you adapt your nested content logic to fit Content Blocks’ approach.
Page Template Fields
If your site relies on Mask for page-specific fields, note that Content Blocks doesn’t support page fields the same way. You can replicate this by creating custom page types or using alternative approaches within TYPO3.
Disabling Content Elements
Unlike Mask, you can’t simply “disable” a Content Block definition in the wizard. If certain elements aren’t needed, remove them from your config or set up user permissions to hide them from certain backend user groups.
Wrapping It All Up
Whether you opt for the automatic migration or prefer to go manual, switching from Mask to Content Blocks is a smart move for long-term stability. You’ll gain a well-structured environment that’s easier to maintain, less prone to conflict, and lined up perfectly with TYPO3’s future direction.
Kudos once more to Team Content Blocks for making all of this possible. If you have unique scenarios or advanced use cases, don’t hesitate to share them with the TYPO3 community—together, we’re making content creation better than ever!
Happy Migrating to Content Blocks!



After reading the blog on migrating from Mask to Content Blocks, I was able to follow the simple steps and complete the transition smoothly. It was really helpful for anyone who needs to update their site without complications. The guide made the whole process easy to understand.