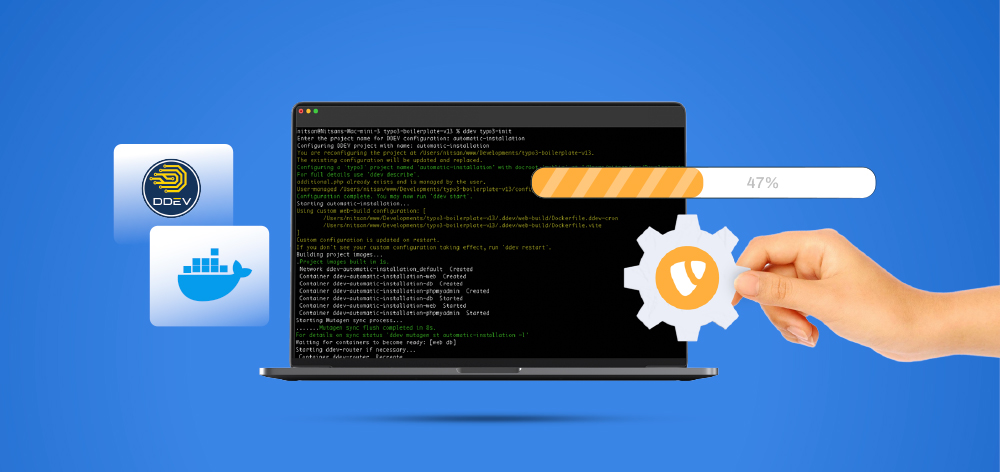
Created by the innovative ErHaWeb, these easy-to-use bash scripts leverage Docker and TYPO3 DDEV to let you spin up and tear down TYPO3 environments almost instantly. With automated cron jobs, phpMyAdmin integration, and a local sitepackage setup, you can skip tedious configs and jump straight into building great TYPO3 solutions. Whether you’re prototyping new features or testing multiple TYPO3 versions, this streamlined workflow saves you time and headaches.
Why Automate TYPO3 Setup?
Developing TYPO3 projects can be a breeze—if you don’t spend half your time wrangling installation steps. Whether you’re maintaining multiple TYPO3 versions or quickly testing a new feature, automating your setup saves you from repetitive, manual tasks. This guide shows how to spin up fresh TYPO3 environments with minimal effort using Docker, DDEV, and two straightforward bash scripts.
Special Thanks
A big shout-out to ErHaWeb for pioneering this streamlined TYPO3 environment setup. His original Gist provided the inspiration for these Docker and TYPO3 DDEV scripts, making it easier than ever to launch TYPO3 projects. We encourage you to check out their work for more great ideas and continued improvements.
Key Highlights
- Support for Multiple Versions
Quickly install TYPO3 10, 11, 12, 13, or even the bleeding-edge dev release. - DDEV & Docker Under the Hood
Let DDEV handle container orchestration, network settings, and environment variables. - Auto-Configure Essential Tools
phpMyAdmin, cron jobs, and a pre-configured Sitepackage are ready to go immediately. - Hassle-Free Cleanup
A removal script fully dismantles the environment and directories once you’re done.
These scripts ensure your development is about building great TYPO3 experiences, not about tinkering with server configs.
Requirements at a Glance
- Docker installed and running.
- DDEV installed (latest version recommended).
- A working bash environment on your local machine.
Make sure Docker and DDEV both function correctly before proceeding. If you’re new to DDEV, check out the official documentation for setup instructions.
Getting Started
1. Install the Scripts
Place the provided install.sh and remove.sh scripts in ~/.shellscripts/typo3/ (or any folder you prefer).
Download both .sh scripts from TYPO3 Auto-Installation.
2. Create Aliases
In your ~/.bashrc, ~/.zshrc, or equivalent shell configuration, add:
alias install-typo3="bash ~/.shellscripts/typo3/install.sh"
alias remove-typo3="bash ~/.shellscripts/typo3/remove.sh"3. Reload Shell
After saving, reload your shell (e.g., source ~/.bashrc) to activate the aliases.
That’s it—you’re ready to tap into your automated TYPO3 installation workflow!
install-typo3 [version] [project1 project2 ... projectN][version]: Choose “10”, “11”, “12”, “13”, or “dev”. If omitted, TYPO version 13 is installed by default.
[projectX]: Specify one or more project names. Each name also becomes the folder and DDEV project identifier.
For instance:
install-typo3 12 domain1.com domain2.comThis command sets up:
- Two TYPO3 v12 projects named domain1.com and domain2.com
- DDEV configurations for each project
- Running Docker containers dedicated to each environment
If you omit project names, the script falls back on a naming pattern like typo3-<version>-project.
Behind the Scenes
Here’s a glimpse into the magic:
1. Docker + DDEV Kickoff
Each project is initialized as a standalone DDEV environment—no extra manual configuration required.
2. Automatic Cron Jobs
A DDEV-CRON plugin injects a cron job for the TYPO3 Scheduler, so tasks like indexing or email dispatch happen without any extra tinkering.
3. phpMyAdmin On-Demand
The DDEV plugin for phpMyAdmin provides a quick interface to inspect or manipulate your database:
ddev phpmyadmin
4. Local Package Library
A packages/ directory is set up and referenced within your Composer config. This gives you a quick way to develop or test local Composer packages.
5. Sitepackage Ready-to-Go
A pre-configured Sitepackage is cloned into packages/—the script checks out the right branch based on the TYPO3 version you picked. You’ll instantly have a root page that hooks into Page TSconfig and TypoScript from that Sitepackage.
Credentials & Login
Right after installation, jump into the TYPO3 backend using:
- Username: admin
- Password: Password1%
Feel free to reset these credentials for better security in your development workflow.
Finishing Touches: YouTube Walkthrough
Want to see it all in action? There’s a YouTube showcase (insert the correct link) that demonstrates spinning up various TYPO3 versions using these scripts, step by step.
Tidying Up with remove-typo3
Once a project outlives its purpose, removing it is just as quick. Navigate into the project folder and run:
remove-typo3This command:
- Terminates DDEV for that folder.
- Deletes both the DDEV project configuration and the entire directory (with sudo if necessary).
No leftover containers, no clutter, no fuss.
Credits & Inspiration
These streamlined scripts were born out of a creative TYPO3 install strategy shared by ErHaWeb. His work demonstrated just how straightforward local TYPO3 environments can be when leveraging DDEV and a bit of automation.
Final Words
Modern web development demands agility. By automating TYPO3 installations through Docker, DDEV, and simple bash scripts, you reclaim time normally spent micromanaging server configs. Whether you’re exploring different TYPO3 versions, testing extensions, or demonstrating proof-of-concept sites for clients, this approach keeps your workflow uncluttered and efficient.


Wolfgang Weber
Brand & Communication LeadWolfgang Weber shapes TYPO3 with passion and expertise. As TYPO3 enthusiast, he has contributed to TYPO3 projects that make websites faster and more secure. Outside of TYPO3, you'll probably find him exploring local cafés and…
More From Author